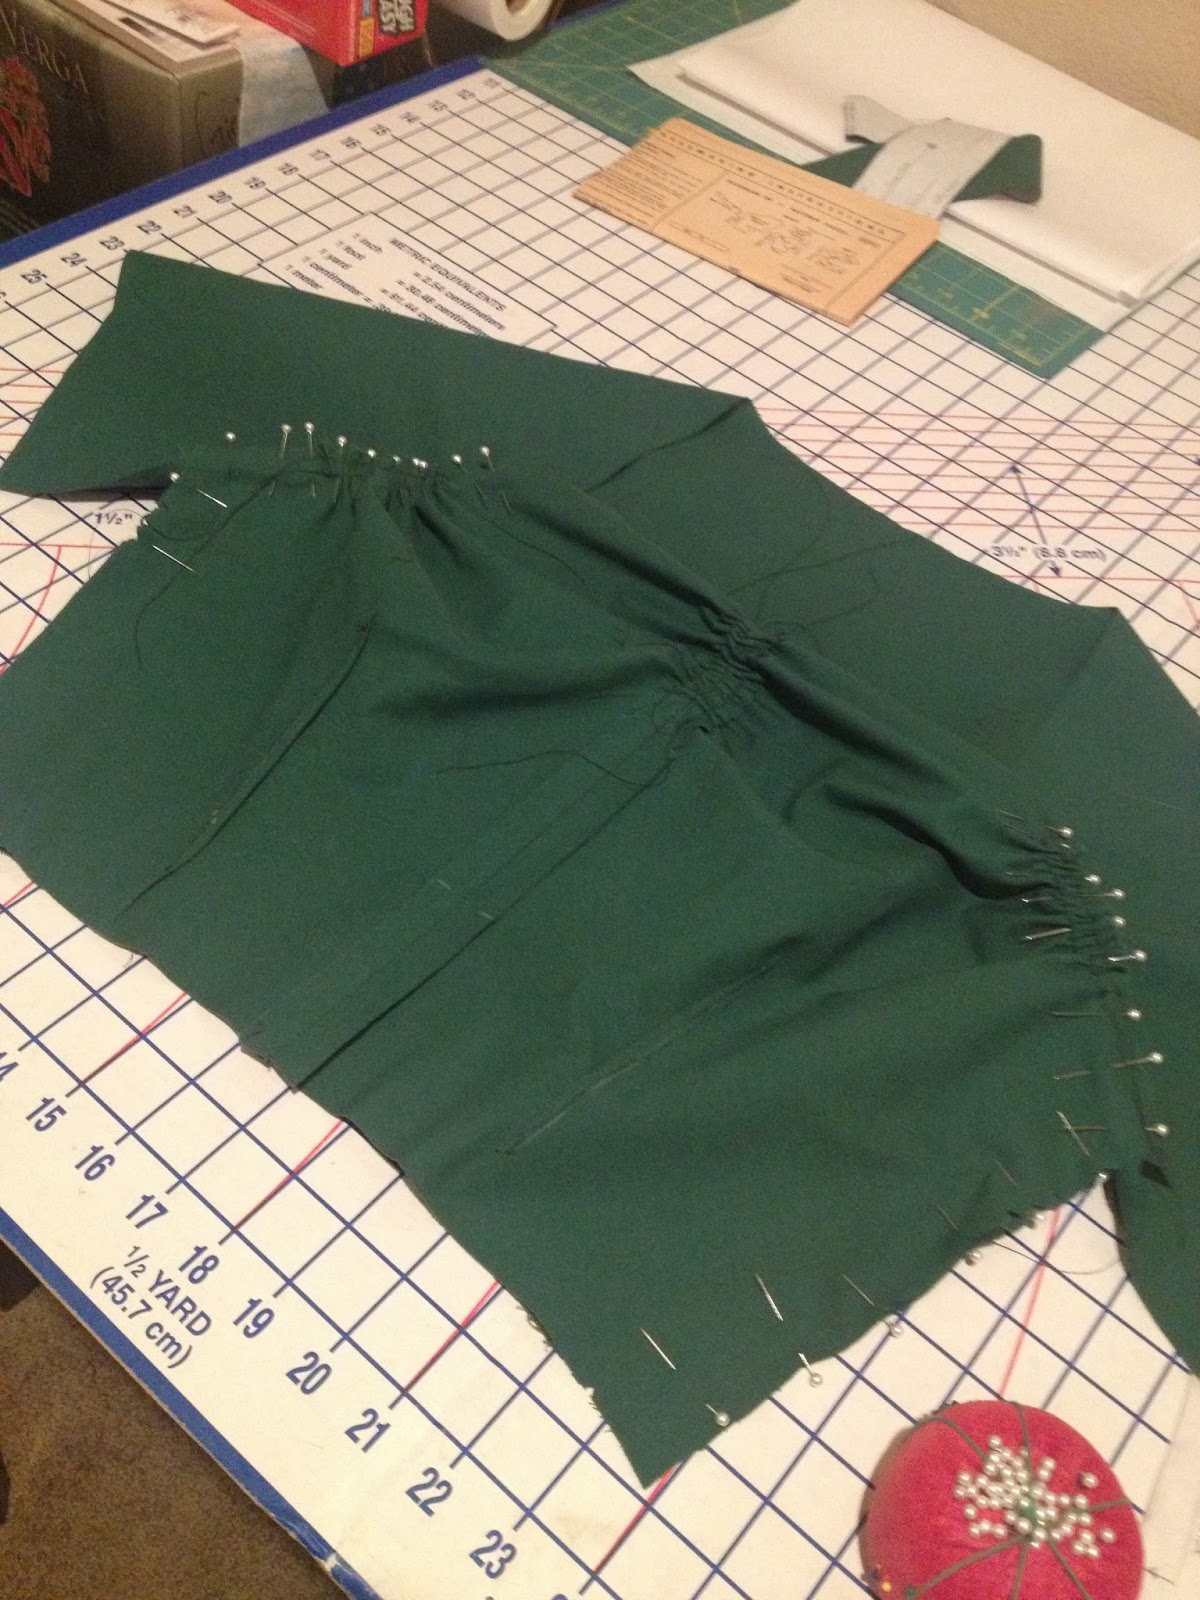
Lots of uneventful things have happened in my life lately. I'd hoped to have my 18th century stays completed by now and the Larkin & Smith English Gown pattern in my hands, but for some reason I just can't figure the stays out. This confuses me. I know how to make a corset. I know how to make an Elizabethan corset. This should not be a problem for me.
But it's the boning channels. I get massive anxiety any time I have to transfer pattern markings to fabric. I've traced the pattern out four times and thrown it away in a fit of rage every time because I always mess up drawing the boning channels.
Like this:
I thought last night that I was drawing the boning channels in wrong compared to its mirror image piece. now I'm not sure. Part of my problem is that I have trouble with spatially imagining it or viewing it backwards in my head or however you would word that.
So after my fit of rage, I taped the remaining pattern pieces to my window and drew the boning channels in from the back side so I would have something physically in front of me to guide me, rather than in my head. Yes, I know I marked the top and bottom of the channels on the piece shown, but that didn't help me.
Instead of dwelling on the lack of progress I've made in sewing anything, I'm going to post pics of my 1911 corset, which I was able to finally photograph properly because I got a new dress form.
Here she is:
I LOVE HER. I am so happy with the way she looks. The gap in the back is slightly bigger than it is on my body, since I have lots of squish and m'lady is firmer of flesh than I am. It's still a bigger gap than I wanted it to be, but lots of costumers have made this corset and many of them have a comparably large gap in the back, so I'm just going to go with it.
The only thing I don't like about this corset is that I get major back fat muffin top when she's laced tightly. That's why I didn't have my corset lacing pal take pics of the corset on my body. And which makes me think she's not meant to be laced as tightly as she was when I was trying her on properly.
Showing posts with label sewing rage. Show all posts
Wednesday, July 16, 2014
Monday, January 13, 2014
Butterick 5708 attempted: Is stupid and rage-inducing
Well, since my Christmas dress actually defeated me in spite of my best efforts, I decided to do a little stash-busting.
I bought Butterick 5708 at Joanne's when Butterick patterns were on sale 10 for $10.00, and figured it would be perfect for this pretty, pretty lighthouse-printed fabric I found at a thrift store a few years ago.
I didn't have quite enough for the dress, so I bought a coordinating solid at Joanne's to use on the upper part of the bodice. CUTE CUTE CUTE
Omgosh, this pattern. This PATTERN. It, like Butterick 8160, looks GREAT on paper. In reality, it's terribly designed. I will say, I noticed several bloggers who were able to make this dress and it looked great on them and they said it was easy. This wasn't the case with me, so basically I'm ranting but if you want to try this pattern, go for it.
Several bloggers who made the Butterick 5708 dress mentioned that the shoulders seemed to be made for a linebacker. Since I have wide shoulders, I wasn't really concerned about it. But I should have been. I tried on the bodice before I lined it and maybe I did something wrong when I cut the pattern out, but the fabric in the front and back gapes and bunches up terribly when I tied the sleeves.
And this is another thing--this bodice is a BITCH to try on for fitting purposes, because you can't really pre-tie the shoulder straps and then slip it on. It has to be worn to tie the shoulder straps properly, and even then you really need to have a helper tie them for you (which I didn't have) to get them tied evenly on both sides.
Nevertheless, I realized as I was trying it on for fit that I was going to have to cut down the bodice as best as I could because it was way too huge. That meant I had to take it all apart because, and this is something else people mentioned--the way the bodice is constructed means that you can't do anything but take it in at the sides once it's sewn together. If you need to fix the fit in any other way, you have to take it completely apart.
I was trying really hard not to freak out, so I gamely deconstructed the bodice and retraced everything to a size 14, which was the smallest size of the pattern. I couldn't do anything about the neckline, unfortunately, because the fabric was already cut and I didn't want to buy more. It takes TWO AND A HALF YARDS of fabric cut out the TOP (contrast) part of the bodice pattern.
Sewed the damn thing back together. Which, sewing a midriff to a v-shaped bodice is SO MUCH HARDER than you'd think. "Stitch to the large circle and then pivot." Oh no. First you have to figure out how to pin the pieces together, then figure out how to deal with all the fabric that's bunched at the point of the V where you're supposed to pivot, then you turn it right side out and realize you're going to have to redo it because, duh, all the fabric got bunched up.
What I had to do was sew each side of the midriff to the bodice separately. There was no pivoting. It worked out well, but was a really frustrating learning experience.
Anyway, finally got the bodice and lining sewn together and as I was trying pressing the seams flat after turning it inside out, I found myself cussing it out and repeatedly exclaiming "I HATE THIS!!"
Listen. I admit I'm prone to fits of rage when sewing, but when you are hating every bit of a project--END THE PROJECT. I'm stubborn and I am also thrifty and I didn't want to waste this cute fabric that I won't be able to replace, but I should have trusted my instincts because this was all a waste of time.
Thank goodness I had enough leftover fashion fabric to make a new bodice from a pattern I've done before and really love: enter McCall's 5094.
And behold, the new bodice:
Isn't it pretty?? God, I hope it fits. The first time I made this pattern, I made it in a size 14 and ended up having to take it in 1.5 inches on either side of the center back seam. This one I made in a size 12. I feel like the straps could be a little longer, but on the first one I made, the straps were way too long and I had to take those in too.
I am really working on improving my craftsmanship, and I'm really proud of my work on this bodice so far. Except for the fact that the pattern is running upside down on the midriff. And the fact that I trimmed the seam allowance connecting the upper bodice to the midriff and THEN realized I'd forgotten the midriff lining. But I fixed that, and proved that I COULD stitch in the ditch. And then realized I'd accidentally sewn the midriff lining on wrong, so that the wrong side is now showing.
But listen--when I first started sewing, I didn't know about trimming seam allowances and clipping curves. I didn't know about stay-stitching. Now I stay-stitch all sides of all pieces, because I've experienced too many stretched out necklines and armholes. The added benefit is that the stitch line serves as my guide for the seam allowance, which is wonderful because before I could never sew the 5/8" allowance consistently. It would waver from 5/8" to 4/8" to 6/8" and would just make me sweat with anxiety. Now that I know about trimming allowances and clipping curves, my necklines and armholes are nice and smooth. After I get a few more dresses under my belt, I might actually be ready to start selling what I've made on etsy. :-)
I bought Butterick 5708 at Joanne's when Butterick patterns were on sale 10 for $10.00, and figured it would be perfect for this pretty, pretty lighthouse-printed fabric I found at a thrift store a few years ago.
I didn't have quite enough for the dress, so I bought a coordinating solid at Joanne's to use on the upper part of the bodice. CUTE CUTE CUTE
Omgosh, this pattern. This PATTERN. It, like Butterick 8160, looks GREAT on paper. In reality, it's terribly designed. I will say, I noticed several bloggers who were able to make this dress and it looked great on them and they said it was easy. This wasn't the case with me, so basically I'm ranting but if you want to try this pattern, go for it.
Several bloggers who made the Butterick 5708 dress mentioned that the shoulders seemed to be made for a linebacker. Since I have wide shoulders, I wasn't really concerned about it. But I should have been. I tried on the bodice before I lined it and maybe I did something wrong when I cut the pattern out, but the fabric in the front and back gapes and bunches up terribly when I tied the sleeves.
And this is another thing--this bodice is a BITCH to try on for fitting purposes, because you can't really pre-tie the shoulder straps and then slip it on. It has to be worn to tie the shoulder straps properly, and even then you really need to have a helper tie them for you (which I didn't have) to get them tied evenly on both sides.
Nevertheless, I realized as I was trying it on for fit that I was going to have to cut down the bodice as best as I could because it was way too huge. That meant I had to take it all apart because, and this is something else people mentioned--the way the bodice is constructed means that you can't do anything but take it in at the sides once it's sewn together. If you need to fix the fit in any other way, you have to take it completely apart.
I was trying really hard not to freak out, so I gamely deconstructed the bodice and retraced everything to a size 14, which was the smallest size of the pattern. I couldn't do anything about the neckline, unfortunately, because the fabric was already cut and I didn't want to buy more. It takes TWO AND A HALF YARDS of fabric cut out the TOP (contrast) part of the bodice pattern.
| Vintage ashtrays are fun pattern weights. I wanted to buy vintage flower frogs in different colors to use as pattern weights, but that would have been expensive. |
Sewed the damn thing back together. Which, sewing a midriff to a v-shaped bodice is SO MUCH HARDER than you'd think. "Stitch to the large circle and then pivot." Oh no. First you have to figure out how to pin the pieces together, then figure out how to deal with all the fabric that's bunched at the point of the V where you're supposed to pivot, then you turn it right side out and realize you're going to have to redo it because, duh, all the fabric got bunched up.
What I had to do was sew each side of the midriff to the bodice separately. There was no pivoting. It worked out well, but was a really frustrating learning experience.
![]() | |
| Ugh, hateful pattern. |
Anyway, finally got the bodice and lining sewn together and as I was trying pressing the seams flat after turning it inside out, I found myself cussing it out and repeatedly exclaiming "I HATE THIS!!"
| SERIOUSLY??? Trying to press the seams flat on the shoulder straps was traumatic. One long, drawn out, barely controlled fit of rage. |
Listen. I admit I'm prone to fits of rage when sewing, but when you are hating every bit of a project--END THE PROJECT. I'm stubborn and I am also thrifty and I didn't want to waste this cute fabric that I won't be able to replace, but I should have trusted my instincts because this was all a waste of time.
Thank goodness I had enough leftover fashion fabric to make a new bodice from a pattern I've done before and really love: enter McCall's 5094.
And behold, the new bodice:
Isn't it pretty?? God, I hope it fits. The first time I made this pattern, I made it in a size 14 and ended up having to take it in 1.5 inches on either side of the center back seam. This one I made in a size 12. I feel like the straps could be a little longer, but on the first one I made, the straps were way too long and I had to take those in too.
I am really working on improving my craftsmanship, and I'm really proud of my work on this bodice so far. Except for the fact that the pattern is running upside down on the midriff. And the fact that I trimmed the seam allowance connecting the upper bodice to the midriff and THEN realized I'd forgotten the midriff lining. But I fixed that, and proved that I COULD stitch in the ditch. And then realized I'd accidentally sewn the midriff lining on wrong, so that the wrong side is now showing.
| Guess I won't be selling this in my etsy store after all. |
Monday, December 2, 2013
McCall's Magazine - July 1902 - Part the Second
I finished my project for the vintage sewing contest on patternreview.com and hated it, so I didn't enter it after all. I didn't even take pictures. That's all I'm going to say about that.
MOVING ON... Let's take a look at the rest of my July 1902 issue of McCall's Magazine. I have to start with this crazy article: "Toads as Domestic Helpers."
I admit to being quite taken with the thought of having a troop of toads as little helpers, especially when the article went on to describe them as being "very orderly and clean. When they wish to sleep they go to their basin of sand, and when to wash, they go to their pan of water for a bath." AwwwwWWWW. Please, please click on the picture and read the whole story, it's ADORABLE.
Next up: advertisements. Check out the "Cozy Homes for a Dime," where houses cost anywhere from $300 to $2000 (that's $7835.30 to $52,235.36 in today's money).
Some of those "Useful Recipes" sound pretty good, particularly the recipe for Fig Cake. I might try that some time.
That buggy is cool. $60 in 1902 = $1567.06 today. Not a bad price, I think! I wasn't sure if this was before cars were invented, so I did a quick Google search and found the answer but didn't retain much of what I read except that cars were invented in the 1880s in Europe, and became popular in the US with the Model T around 1908. So this buggy must have been horse-drawn. The first cars looked just like horse-drawn carriages, to my untrained eye. But the best thing I learned was that the first long-distance driver was a woman! Bertha Benz, wife of Karl Benz, who is acknowledged as the inventor of the modern automobile.
More, with comments in the captions since I'm a bit rushed today.
And that wraps up my issue of McCall's Magazine, July 1902 issue. It's missing several pages, but what surprises me is how completely they cover the bases in their pattern listings--baby clothes, girl clothes, boy clothes, teenager clothes, women's, men's, fashion, underclothes, nightclothes, aprons, bonnets, etc. Also, was it uncommon/non-existent at this time to have separate pattern books? What were the other pattern companies? Did they put out magazines of their pattern collections including household tips, celebrity news, recipes, etc. too?
MOVING ON... Let's take a look at the rest of my July 1902 issue of McCall's Magazine. I have to start with this crazy article: "Toads as Domestic Helpers."
![]() | ||
| "A lady who lives near me has a toad so well trained that it jumps upon her lap and then upon a table near her in order to catch flies," writes August R. Pinney in Good Housekeeping. |
I admit to being quite taken with the thought of having a troop of toads as little helpers, especially when the article went on to describe them as being "very orderly and clean. When they wish to sleep they go to their basin of sand, and when to wash, they go to their pan of water for a bath." AwwwwWWWW. Please, please click on the picture and read the whole story, it's ADORABLE.
Next up: advertisements. Check out the "Cozy Homes for a Dime," where houses cost anywhere from $300 to $2000 (that's $7835.30 to $52,235.36 in today's money).
Some of those "Useful Recipes" sound pretty good, particularly the recipe for Fig Cake. I might try that some time.
That buggy is cool. $60 in 1902 = $1567.06 today. Not a bad price, I think! I wasn't sure if this was before cars were invented, so I did a quick Google search and found the answer but didn't retain much of what I read except that cars were invented in the 1880s in Europe, and became popular in the US with the Model T around 1908. So this buggy must have been horse-drawn. The first cars looked just like horse-drawn carriages, to my untrained eye. But the best thing I learned was that the first long-distance driver was a woman! Bertha Benz, wife of Karl Benz, who is acknowledged as the inventor of the modern automobile.
More, with comments in the captions since I'm a bit rushed today.
![]() | |
| Hah! Inflatable bras! Also, Tutti Frutti Ice Cream sounds yummy. I might try that. I bet it's good with the fig cake. |
![]() | |
| I always love looking at old-fashioned home remedies. Also, these are boys clothes. I didn't realize that until I looked at the descriptions. |
![]() | ||
| That corset with the wrap-around belt closure looks really interesting. |
![]() |
| "Delicious Desserts for Summer Dinners." Chocolate jelly should sound unappetizing, but reading the recipe makes me want to try it. |
Monday, November 18, 2013
Vintage Butterick 8160 - F@#% this
This weekend I worked on my dress for the Pattern Review vintage sewing contest, using Vintage Butterick 8160.
Early indications were that the bodice was going to be a bitch to sew and that I'd have at least one fit of rage while trying to get the fit right.
I made a muslin. The fit was so hideously bad. It was a major humbling experience for me because my figure is so generic that I actually stopped making muslins for the 50s-style sundresses I love because my proportions fit the pattern measurements so easily. I didn't think it'd be any different for this actual 1950s pattern, but thank goodness I made the muslin for it. Because it looked SHITTY and I would have killed myself if I'd cut up my fashion fabric for it.
This is the only picture I have of Muslin #1:
I convinced myself that it turned out badly because the fabric I used is too heavy and stiff. So I made another one, and I felt like the gathers came out better and looked more like the picture on the pattern. But it was the same result on the body. Ungainly. Badly proportioned. Horrible drape. Here, I'll show you.
Muslin #2:
I can't even begin to figure out how to fix the fitting issues. I even bought a dress form to try the muslin on so I would have a better chance of figuring it out, but ended up having a fit of rage and tearing the stupid thing up at the seams (the muslin, not the dress form).
I truly don't think the bodice pattern for vintage Butterick 8160 is a workable design. It looks good on paper, but in reality, it's a terrible design.
So I'll have to do something else for the Vintage Sewing challenge, and save the Christmas dress for the Holiday Sewing contest, because then I can combine a different bodice with the Butterick 8160 skirt, which really does look to-die-for.
Luckily I had a Plan B for the Vintage Sewing contest. My fallback plan is to do Simplicity Jiffy 5959 with the cute vintagey print fabric I found at High Fashion Fabrics in Houston.
It looks easy, and I'm sure it is, but I'm convinced that every new pattern I try takes at least 5 times longer to complete than it would for a more experienced seamstress. Plus, I'm going to line both the jacket and the dress, because the fabric is kind of scratchy and I believe it tends to stick to itself. So it's probably good for a fit of rage, haha.
I only have 12 days to finish the Vintage Sewing contest. Luckily, the Holiday Sewing contest started Nov. 15 and runs through the end of December, so I have plenty of time to figure out what to do for my Christmas dress.
Early indications were that the bodice was going to be a bitch to sew and that I'd have at least one fit of rage while trying to get the fit right.
I made a muslin. The fit was so hideously bad. It was a major humbling experience for me because my figure is so generic that I actually stopped making muslins for the 50s-style sundresses I love because my proportions fit the pattern measurements so easily. I didn't think it'd be any different for this actual 1950s pattern, but thank goodness I made the muslin for it. Because it looked SHITTY and I would have killed myself if I'd cut up my fashion fabric for it.
This is the only picture I have of Muslin #1:
I convinced myself that it turned out badly because the fabric I used is too heavy and stiff. So I made another one, and I felt like the gathers came out better and looked more like the picture on the pattern. But it was the same result on the body. Ungainly. Badly proportioned. Horrible drape. Here, I'll show you.
Muslin #2:
![]() | |
| I am actually wearing pants here, okay? A skirt, actually. I turned the waist band up to my actual waist level--I am very short-waisted--hoping it would magically improve the bodice fit. |
I can't even begin to figure out how to fix the fitting issues. I even bought a dress form to try the muslin on so I would have a better chance of figuring it out, but ended up having a fit of rage and tearing the stupid thing up at the seams (the muslin, not the dress form).
I truly don't think the bodice pattern for vintage Butterick 8160 is a workable design. It looks good on paper, but in reality, it's a terrible design.
So I'll have to do something else for the Vintage Sewing challenge, and save the Christmas dress for the Holiday Sewing contest, because then I can combine a different bodice with the Butterick 8160 skirt, which really does look to-die-for.
Luckily I had a Plan B for the Vintage Sewing contest. My fallback plan is to do Simplicity Jiffy 5959 with the cute vintagey print fabric I found at High Fashion Fabrics in Houston.
It looks easy, and I'm sure it is, but I'm convinced that every new pattern I try takes at least 5 times longer to complete than it would for a more experienced seamstress. Plus, I'm going to line both the jacket and the dress, because the fabric is kind of scratchy and I believe it tends to stick to itself. So it's probably good for a fit of rage, haha.
I only have 12 days to finish the Vintage Sewing contest. Luckily, the Holiday Sewing contest started Nov. 15 and runs through the end of December, so I have plenty of time to figure out what to do for my Christmas dress.
Saturday, July 27, 2013
Sewing from a pattern
Hey look, I made a dress! An actual, real dress that I can actually wear in everyday life! I made it from a pattern! It wasn't that hard! In fact, it wasn't hard at all! I read the instructions and followed them step-by-step and I made a dress that turned out pretty good!
It's not perfect but it's an actual dress that I made from an actual pattern, which means I can make soooo many dresses from this pattern and the next one will be better than the first because I will have already had practice with this pattern!
SO WHAT THE SHIT IS THIS???
WHAT.
Same exact pattern, but this time it's about 2 sizes too big. The biggest problem is the bodice, which is too long, and too big. Also, the top edge of the front and back pieces didn't match up like they did on the first dress I made. I don't know how that happened. The only thing I did different was to line the dress, which made it too bulky--but that wouldn't have made it two sizes too big.
To fix it, I'll remove the bodice from the skirt and cut out the lining as much as possible (I don't want to completely dismantle the damn thing) and take it in at the sides, and then attach the skirt a couple of inches higher, and see if that fixes things.
The pattern is Simplicity 9909, which I picked up for a dollar at a local thrift store.
![]() |
| There's a tie-belt that goes with this dress that I forgot to put on. And I have to try to ignore that the design is off-center on the bodice, otherwise I get twitchy. |
![]() |
| Can we please ignore the massive scowl on my face? I was actually in the middle of a fit of rage while taking these pics. Why, you ask? Well, keep reading... |
![]() |
| This shows the fit of the bodice a little better. |
It's not perfect but it's an actual dress that I made from an actual pattern, which means I can make soooo many dresses from this pattern and the next one will be better than the first because I will have already had practice with this pattern!
SO WHAT THE SHIT IS THIS???
WHAT.
Same exact pattern, but this time it's about 2 sizes too big. The biggest problem is the bodice, which is too long, and too big. Also, the top edge of the front and back pieces didn't match up like they did on the first dress I made. I don't know how that happened. The only thing I did different was to line the dress, which made it too bulky--but that wouldn't have made it two sizes too big.
To fix it, I'll remove the bodice from the skirt and cut out the lining as much as possible (I don't want to completely dismantle the damn thing) and take it in at the sides, and then attach the skirt a couple of inches higher, and see if that fixes things.
The pattern is Simplicity 9909, which I picked up for a dollar at a local thrift store.
Tuesday, March 5, 2013
Sewing rage and whatnot
Well, I learned how to make a peasant blouse!
I made a T-tunic first, and didn't like how the fabric bunched under the arms. So I cut the arms off and adjusted the pattern and made underarm gussets. I was already feeling irritable for some reason when I was doing this, and my inner voice was telling me not to worry about the tunic for now, but I ignored it, as usual.
Let me say a word about my cutting board. This is what I had:
The thing is cut so that there are three strips on either side of the center and is folded up like origami to get it into the square configuration. When unfolding it, the three strips on either side of the center flop around and land in awkward positions so that you have to do a lot of tweaking to get everything to lay flat. I have a tiny sewing room. The board takes up half of it, so I don't have a lot of room to maneuver.
And it's impossible to fold it up into a square again. There is a diagram showing how to do it, but who has the time or patience for that? (hint: not me) Whenever I use the cutting board, I just dread having to fold it up again because it's the kind of thing that tends to send me sliding headlong into a cold rage, but I've been using it as an exercise in patience and tolerance. I just take a breath when I start getting mad at how much I have to struggle to get the thing into a somewhat flat configuration so I can shove it behind my wicker cabinet, and I say to myself, "It's not worth getting mad about."
That worked really well until I had to redo my peasant tunic. I cut out the new paper pattern using my cutting board as the smooth, flat surface I needed. I laid out my fabric and cut two squares for the underarm gussets. I folded the fabric neatly when I was done and put it back out in the garage where I store my stash. I then proceeded to try and fold up my cutting board. It didn't work. I flopped it back down on the ground so I could try again with all the pieces in order. The pieces landed every which way but flat. I tried it again. And again. Finally, I snapped, and yelled out loud, "I HATE THIS!!!" and tore the cutting board up in a fit of rage and stuffed it in the recycling.
That felt good. It felt really, really awesome. I was trying not to spend any more money than I had to, so of course I had to get a new cutting board (which folds normally THANK GOODNESS), but it was worth the $12.99 I spent on the new one to rip up that old one.
I couldn't post a picture of my final peasant blouse, because it's made out of that very sheer voile and I didn't want anyone to see my undies. But here's the tutorial! It's the best peasant blouse tutorial I've ever seen! Try it, you'll like it!
http://www.thingsofcloth.com/documents/Adult-size_Peasant_Blouse_Tutorial.pdf
I made a T-tunic first, and didn't like how the fabric bunched under the arms. So I cut the arms off and adjusted the pattern and made underarm gussets. I was already feeling irritable for some reason when I was doing this, and my inner voice was telling me not to worry about the tunic for now, but I ignored it, as usual.
Let me say a word about my cutting board. This is what I had:
The thing is cut so that there are three strips on either side of the center and is folded up like origami to get it into the square configuration. When unfolding it, the three strips on either side of the center flop around and land in awkward positions so that you have to do a lot of tweaking to get everything to lay flat. I have a tiny sewing room. The board takes up half of it, so I don't have a lot of room to maneuver.
And it's impossible to fold it up into a square again. There is a diagram showing how to do it, but who has the time or patience for that? (hint: not me) Whenever I use the cutting board, I just dread having to fold it up again because it's the kind of thing that tends to send me sliding headlong into a cold rage, but I've been using it as an exercise in patience and tolerance. I just take a breath when I start getting mad at how much I have to struggle to get the thing into a somewhat flat configuration so I can shove it behind my wicker cabinet, and I say to myself, "It's not worth getting mad about."
That worked really well until I had to redo my peasant tunic. I cut out the new paper pattern using my cutting board as the smooth, flat surface I needed. I laid out my fabric and cut two squares for the underarm gussets. I folded the fabric neatly when I was done and put it back out in the garage where I store my stash. I then proceeded to try and fold up my cutting board. It didn't work. I flopped it back down on the ground so I could try again with all the pieces in order. The pieces landed every which way but flat. I tried it again. And again. Finally, I snapped, and yelled out loud, "I HATE THIS!!!" and tore the cutting board up in a fit of rage and stuffed it in the recycling.
That felt good. It felt really, really awesome. I was trying not to spend any more money than I had to, so of course I had to get a new cutting board (which folds normally THANK GOODNESS), but it was worth the $12.99 I spent on the new one to rip up that old one.
I couldn't post a picture of my final peasant blouse, because it's made out of that very sheer voile and I didn't want anyone to see my undies. But here's the tutorial! It's the best peasant blouse tutorial I've ever seen! Try it, you'll like it!
http://www.thingsofcloth.com/documents/Adult-size_Peasant_Blouse_Tutorial.pdf
Subscribe to:
Posts (Atom)