Showing posts with label Corsets and Crinolines. Show all posts

Monday, March 30, 2015

1776 stays FINALLY DONE!!

Whew!! I spent every spare minute of the last two weeks sewing, alternating between Melissa's costume and mine. I finally finished binding my stays last Thursday, just in time for Sherwood Forest on Saturday. It was so much fun. I had a glass of mead, a shredded troll sandwich, and frozen chocolate covered cheesecake on a stick. I really wanted another glass of mead, but my allergies and sinuses were really bad, which often triggers my migraines. I already had a slight headache, and it was a super windy day with loads of dust and pollen in the air. I learned the hard way not to drink too much mead when my sinuses are acting up.

We got tons of compliments. In the previous two years, we've gotten precisely two compliments (one per year). Actually, those compliments were directed at Melissa, even though our costumes were the same (except made from different fabric) because I made them. But Melissa is beautiful and carries herself with confidence whereas I feel like a shy little mouse.

So I counted at least seven compliments this year, and many of them were from ladies who said they were experienced seamstresses. Many of them asked questions about the boning and a couple of them even called them stays, which is when you know someone knows their stuff. Others called them bodices or corsets, but I didn't care. It made all that hard, tedious work so worthwhile.

Here are a few pics.

I hate my face. Why couldn't God have blessed me with a nice jawline?
My stays...
Melissa's stays...


I love the lacing on these.
Look at that pattern matching!


A few construction notes... For each pair of stays, I used 3/16" half-oval basketry reed for the boning, and just put two in each boning channel, flat sides together. Boning channels were 1/2" wide. For the front lacing strips, I used 1/4" heavy duty steel boning. For the back lacing strips, I used regular 1/4" spring steel boning.

I bound my stays using very thin, soft, flexible leather. Melissa used narrow bias tape, but I can't remember if it was single- or double-fold. I made Melissa's stays but she did the binding on them and did a great job! She's never even done it before!

I know the edges aren't supposed to touch.

I shaved a little off the side back seam for Melissa's stays and she loved how snug they were. I accidentally cut the armholes of her stays too big. Mine felt snug but I could breath in them easily, and I wished I could have laced them tighter.

They were extremely comfortable, the reed boning held up beautifully, and the style is just gorgeous. Only two pattern pieces (okay, three if you could the shoulder strap), but I couldn't imagine achieving a better fit with a pattern that has more pieces. They can really cinch in your waist, and they make your bust area look amazing. I highly recommend the 1776 stays pattern from Corsets and Crinolines.

Monday, March 2, 2015

1776 Stays - First try-on and a few notes

Isabella's comment about front-lacing stays making it easier to get dressed reminded me that I didn't have to wait for someone to lace me up so that I could try on my stays and see how they fit. So I duly pulled on my chemise, petticoat, and skirt, took a deep breath and said some prayers, and slipped on the stays and laced them up. Then looked in the mirror and felt like jumping up and down with excitement.


The fit is AMAZING. The silhouette they give is AMAZING! I believe it would look good on anyone, any body type, any size. And being that this was the first pattern I've ever gotten from a book, scaled up, and then took the time to fit it to my figure, it felt like a MIRACLE that my efforts actually WORKED!! Can I be considered a sewist of intermediate skill level now???

They aren't perfect. For one thing, somehow I made them too big and the front and back lacing channels close completely, which is a bummer because I like to lace tight because the stays always loosen up after a few hours. They are tight, don't get me wrong. But I could stand to lace them a lot tighter. I expected either the front or the back to close completely, but not both. I can't think how to fix this at this point because taking the stays in at the side seam would move the shoulder straps/armscye back too much, and that part is already borderline about-to-not-fit. But that's easily fixed in the pattern and in fact I've traced Melissa's pattern to move the shoulder straps a little more towards center front and have taken in the side-back seam a bit. For myself, perhaps I can make a stomacher with a busk to take up some space so that when they are all laced up, it will help keep them snug as they loosen up.

Also, I have no idea if these two tabs at the side are supposed to be touching or not, nor do I know how to fix it. But I don't think it's a glaring mistake.


I bought a lovely piece of soft, thin leather off of ebay to use for binding. It's a little thicker than chamois, not much, but it's just a little bit more difficult to get a pin into to hold it in place while I'm sewing it on.

These little clips from Dritz (or was it Clover?), which I found in the quilting section at Joann's, are PERFECT for this job.


My needle wasn't doing a very great job at piercing the binding, so I bought some leather needles and some embroidery needles. A couple of bloggers I read mentioned not wanting to use leather needles because they leave too big a hole, but I wanted to try them anyway.

This bit was done entirely with a leather needle. I've taken as good of a close-up as I can, and I see nothing to concern me re: size of the hole left by a leather needle. I used Dritz leather needles and I used the smallest one in the package:


I was very happy with the leather needles as they go through the leather quite easily. That being the case, they also go through FLESH quite easily and I got a couple of nasty cuts in my fingers until I got used to using the needle.

Last night I bound a tab with a new embroidery needle and it worked just fine. I don't know what kind of needle my old one was (a dull one. Haha!) but I threw it away and I think I'll just use the embroidery needle for now because I don't want to get blood on my white stays due to carelessness with the leather needles.

Oh, and it seems to take me about an hour to bind each tab. At this rate it's going to take me right up till the last week of Sherwood Forest before my costume is ready! I am quite relieved to know that my skirt and chemise are now done (except to sew ribbon ties onto the cuffs of the chemise) and that the stays fit. Now I just need to make Melissa's stuff, but I think I'm going to have to teach her to bind the stays herself because of timing issues. I did try my stays on her and they fit her perfectly, so at least I don't have to make muslins to fit her.

Thursday, February 26, 2015

1776 Stays from Corsets and Crinolines - Construction

I'm extremely excited about my 1776 stays. I have finished the construction with the exception of binding them and I love the way they look. So feminine! I made them front-lacing and back-lacing. I laced them up with some leftover ribbon just so I could slip them over my head and check the fit. I haven't laced them up yet because I need help with that, but so far I think they're going to fit perfectly. I'm really proud of myself!


I boned them throughout with 3/16" half oval reed, two per channel with flat sides together. For the cross-wise boning in the bust area I just used 1/4" cable ties because I couldn't get the reed through the twill tape that I used for the horizontal boning channels, and when I trimmed it down to slide through more easily it kept breaking. The center front lacing channels are boned with heavy-duty 1/4" spring steel (to hold the tummy in), the back boning channels with one reed and one regular 1/4" spring steel in each channel, and the curved side channels with spiral steel.


To trace the boning channels, I took a tip from my sister, who practices Sashiko embroidery, and traced the pattern onto very lightweight, sheer interfacing, then ironed the interfacing onto the fabric that was going to be on the innermost part of the stays. I traced only the outside line of each boning channel and drew an arrow in the direction of where the other line should be sewn. Then I used my sewing machine foot to gauge the depth of the channels. Measuring stuff gives me anxiety and nothing ever turns out right when I measure, so this was the easiest way for me to figure out how thick to make the boning channels and took the stress right out of tracing them to the fabric.


I didn't really intend to make these front lacing, but I had to because I'd cut out all the pattern pieces before I realized I meant to put the center front on a fold. So I had to add an extra boning channel on the edge of the center front of each piece to accommodate the grommets. This added an extra inch to the girth of the stays. When I slipped them over my head to briefly check the fit, I noticed that the center back edges will meet more closely than I had anticipated, and I think this is why. It's still going to fit just fine, and I don't mind if the center back edges meet because my silhouette is still going to look awesome even if I don't lace super tightly.

I've got 1/2 of my skirt pleated up and should finish pleating the other half tonight. Then I'll sew it up the sides and be done with it. I'm expecting a nice big piece of super soft, thin leather in the mail today to use for binding the corset. I'm almost done! Then I have to start on Melissa's costume. I think I'm going to have to teach her how to sew the binding on her stays because I may not have time to do ALL of that plus my own before the end of March when we go to Sherwood.

Thursday, January 29, 2015

1776 stays from Corsets and Crinolines - Patterning & Fitting

I never finished the Diderot stays. The day I tried to put grommets in them, I discovered that the hopsack linen and the sturdy cotton twill I used as lining were, together, too thick to be able to make the big holes for my size 0 grommets. The weave of the hopsack was too loose and after I pierced it with my awl, it would immediately start to close back up. I gave up.

Instead I'm trying to make the 1776 stays from Nora Waugh's Corsets and Crinolines. It's only a two-piece pattern so I hope it will go quickly because Sherwood Forest starts next weekend. But Melissa and I probably won't go until March, so I have time to scramble together our costumes, but I'm a slow sewer so it will still be a crunch.

This is the first pair of stays that I have actually tried to fit to my figure, and I'm really, really glad I've taken the time to make several muslins, as irritating as it is.

The right side of this picture (viewer's right) shows how this pattern first fit me after scaling it up but without making any other changes. I think the original wearer had very slender hips because there was a nine-inch gap between the lacing holes at my hips but only a two-inch gap at the lacing holes at the top.


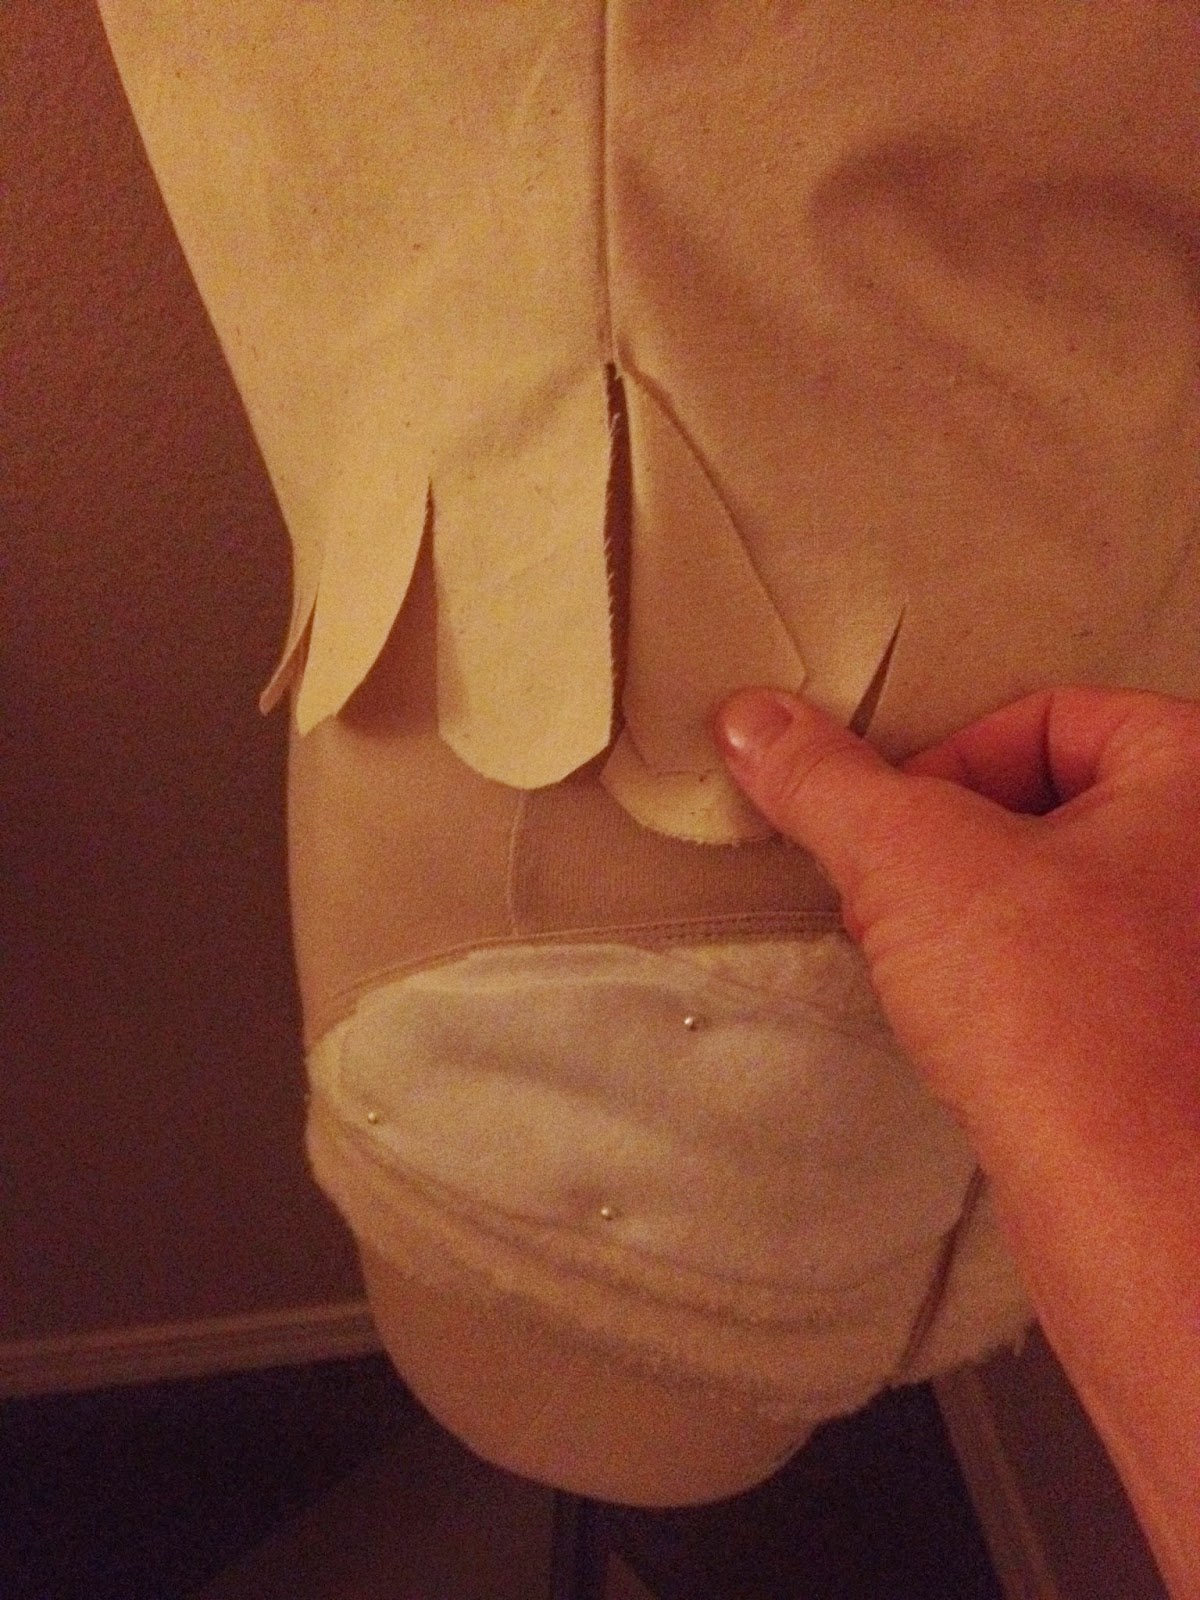
I took in a little bit at the top of the center back, and then put in an extra tab on the side-back piece, adding a little to the waist as well. The new mock-up fit my dress form much better.


I felt that it was still a bit long in the waist at the back, so I pinned up the excess and transferred the changes to my pattern piece. Even though, to my eyes, the center back looks straight on the dress form, it was clearly NOT straight on the pattern when laid flat.


I fixed the center back pattern piece and sewed up a new mockup. I haven't made any changes to the front pattern piece at this point. It fit my dress form quite nicely and I thought I was ready to go, but a little voice at the back of my mind kept whispering, "But everything you've read on the costume blogs says that the seam is supposed to be curved at the side FRONT, not the side back." I tried to convince myself that it wouldn't make any difference on a stays pattern that consisted of two pieces, and only one seam anyway, but I just had to retrace the pattern. I transferred the side-back curve to the side-front and straightened out the side back.


Sewed up a fourth muslin and pinned it to my dress form. I honestly couldn't tell any difference in the fit, but I suppose I'll keep it like this just for my own piece of mind since I don't know if it's okay to keep the side front seam straight and curve the side back.


One last change I am making to this pattern--and I won't bother with a muslin for this small change--is to take out that extra tab at the side-back. You can see on the dress form how it sticks out.


It was easy to just fold it back and tape it down on the pattern to get it out of the way. The line of the seam wasn't affected at all.

Now I just need to decide on what fabric to make this out of. I have some beautiful vintage silk brocade, supposedly hand-woven, that I bought specifically to make stays. But I feel like it should be part of a fabulous fantasy costume and I am having trouble visualizing how I want it to look. So I think I'll save it until I have a clear idea of the look I want. I'm leaning towards just using some white linen in my stash and making a peasanty-looking skirt. For some reason I've always liked the peasant look even more than high-class lady. But in my everyday life, I'm a bit of a plain jane. I can't tolerate heels and I can't stand the way fashionistas in this city dress. So my love of peasant looks is really a reflection of my natural tastes in fashion, I guess.